Changing Gears: Developing Audio Plugins
For the second blog post here I wanted to take things in a bit of a different direction. In the first post I introduced the Java Sound API and some basic information about digital audio. Since working on that first post I have done some more digging and decided that in order to accomplish my original goal most effectively, I will transition to using an audio programming and GUI framework called JUCE to build the software I set out to make. This will require a little resetting from the first post as it is C++ based but it will be well worth it in the end because I will be able to build a wider variety of sound audio manipulation tools this way. This is also a framework for GUI so I can easily build sliders, knobs, and other graphical components really easily so we can better visualize just what we are doing with the audio. If you are curious about the Java Sound API specifically and not just audio programming in general, there is great documentation here that will step through that material in chapters. I think you will find, like I did, that this framework is much easier to work with and therefore more useful for this project.
Now, I am going to use this post to introduce JUCE and walk through a basic audio plugin that will alter the sound of whatever audio input is passed to it and output it. This is the basis for what I will do with the rest of the blog posts just with some more complicated effects. There is a tutorial available on some elements of the framework so I will link it, but I will go more in depth here on the important aspects of the code.
To start, you must download JUCE. Once installed, you must run the Projucer application. This will bring up a menu from which you can open or start new projects. What I did -and what I would advise you to do if you are following along- is to open a new project and select Plug-in >
Basic from the left side menu. Leave all of the standard modules in place. If you want to use your audio interface to plug in your instrument of choice, you will want to download an ASIO SDK. ASIO is a soundcard driver protocol that will allow for much lower latency when processing audio from an audio interface. To add ASIO to your program you will need to add the file path to the common folder in the ASIO SDK to Header Search Paths section of the project settings. You will also need to select modules > juce_audio_devices from the left hand menu and enable JUCE_ASIO.

Now the project is set up to take input from an instrument. If you are running Windows this project will only be able to be opened in Visual Studio, and this can be done by clicking the Visual Studio icon on the top of the window. If you have a Mac this project will need to be opened in XCode.
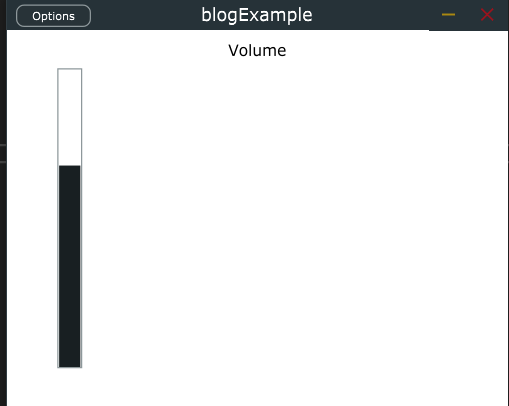
Once the project is opened, there will be a basic framework already generated. If the program is run a window will appear with “Hello World” displayed in it. From here you can follow the instructions here to create a volume slider. This volume slider is linked to a function that will track the value on it and use it to manipulate the volume of the audio that is played back. This is how many other audio components will be changed as we go on as well. The important things to notice are that the majority of the sound processing will occur in the processBlock method. Audio processing is handled on its own thread as we discussed in the last post and this is where the audio processing will need to be done in this application. Audio will come in as it is received and it will be processed in blocks where the processed audio will then be swapped with the original audio. When the steps in the instructions page are completed you will have something that looks like this:
Feel free to play around with this basic application and ask any questions you have about it if you are following along. This post was a bit more setup for what I want to do, but now we have the foundation laid out for building fun audio plugins and I am aiming to have some more fun functionality than just changing volume. I am considering starting with either a reverb/delay effect or a distortion effect for the next post. I will also try to post some audio clips for comparison to really show the difference digital audio processors can make.


The site you linked to for the ASIO SDK seems (if I'm reading it correctly, which I may not be) like it is geared toward digital/electric instruments that are able to directly feed audio into the computer. What would I use if I have a contact microphone clipped to an acoustic instrument?
ReplyDelete